


Aws S3
Amazon Simple Storage Service (S3) is a highly scalable and durable object storage system designed for storing and retrieving any amount of data.


Table of contents
Creating an S3 bucket
First, login to your AWS account and go to the S3 dashboard.
Click on the “Create Bucket” button to create a new bucket.

Type in the bucket name and choose “Object Ownership” as ACL’s enabled.

Uncheck “Block public access” to allow public access to the objects in the bucket.

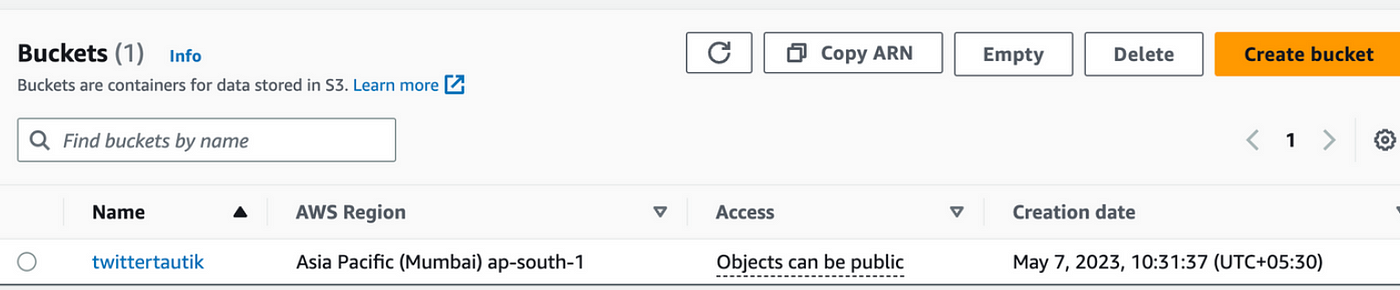
Hence bucket created
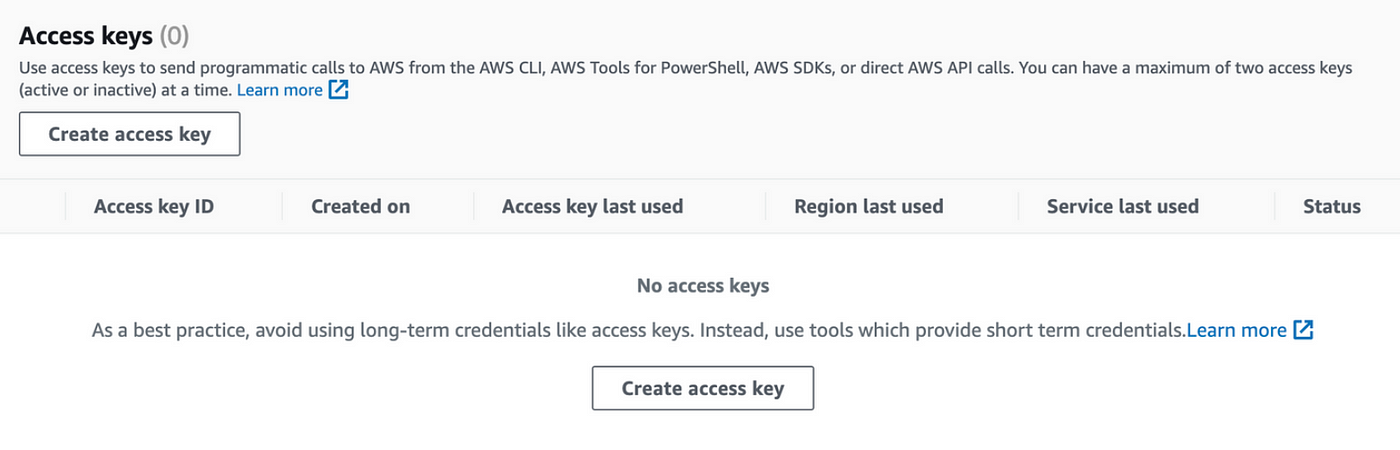
Go to security credential from top right profile
Click on Create access key
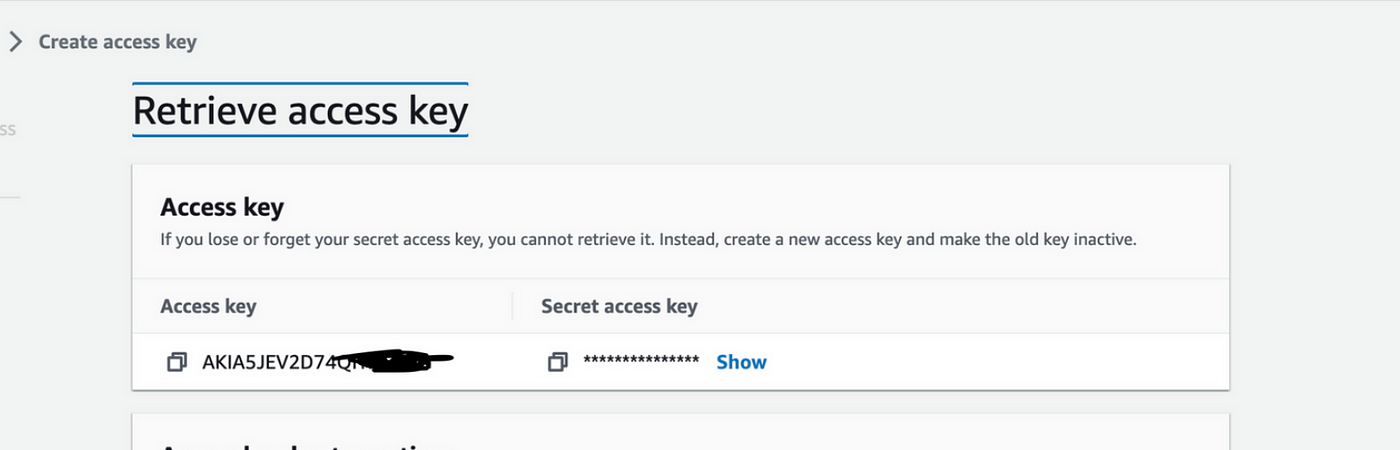
You will get this
Steps to do in nodejs:
Create an Amazon S3 bucket and note its name.
Install the required dependencies by running the following command in your project directory:
npm install aws-sdk multer multer-s3@2.10.0 dotenvCreate a .env file in your project directory with the following contents, replacing REGION, ACCESS_KEY_ID, SECRET_ACCESS_KEY, and BUCKET_NAME with your own values:
 AWS_REGION=REGION
 ACCESS_KEY_ID=YOUR_ACCESS_KEY_ID
 AWS_SECRET_ACCESS_KEY=YOUR_SECRET_ACCESS_KEY
 BUCKET_NAME=YOUR_BUCKET_NAME
Make file-upload-s3-config.js , from here we export upload function which can be used to upload file
 import multer from "multer"; // Import the multer library
 import multerS3 from "multer-s3"; // Import the multer-s3 library
 import aws from "aws-sdk"; // Import the aws-sdk library
 import dotenv from "dotenv"; // Import the dotenv library for managing environment variables

 dotenv.config(); // Load environment variables from .env file

 aws.config.update({
   region: process.env.AWS_REGION, // Set AWS region from environment variable
   secretAccessKey: process.env.AWS_SECRET_ACCESS_KEY, // Set AWS secret access key from environment variable
   accessKeyId: process.env.ACCESS_KEY_ID, // Set AWS access key ID from environment variable
 });

 const s3 = new aws.S3(); // Create a new instance of the S3 class

 // Create a new multer instance with configuration options
 const upload = multer({
   storage: multerS3({
     s3: s3, // Set the S3 instance created earlier
     bucket: process.env.BUCKET_NAME, // Set the S3 bucket name from environment variable
     acl: "public-read", // Set the access control level for uploaded files
     metadata: function (req, file, cb) {
       cb(null, { fieldName: file.fieldname }); // Set metadata for the uploaded file
     },
     key: function (req, file, cb) {
       cb(null, Date.now().toString()); // Set the key for the uploaded file
     },
   }),
 });

 export default upload; // Export the multer instance for use in other files
In tweetController.js which is called by routes, when creating a Tweet use singleUploader we made from upload function made in step 4.
 // Import the TweetService from the 'services' directory and the 'upload' middleware from the 'config' directory.
 import TweetService from "../services/tweet-service.js";
 import upload from "../config/file-upload-s3-config.js";

 // Set up a single uploader for the 'image' field using the 'upload' middleware.
 const singleUploader = upload.single("image");

 // Create an instance of the TweetService.
 const tweetService = new TweetService();

 // Define a function to handle creating a new tweet.
 export const createTweet = async (req, res) => {
   try {
     // Use the singleUploader to handle the 'image' field in the request.
     singleUploader(req, res, async function (err, data) {
       if (err) {
         // If there is an error, return a 500 error response.
         return res.status(500).json({ error: err });
       }
       // If the upload was successful, log the image URL to the console.
       console.log("Image url is", req.file);
       // Create a payload from the request body.
       const payload = { ...req.body };
       // Set the 'image' field in the payload to the URL of the uploaded image.
       payload.image = req.file.location;
       // Call the 'create' method on the tweetService with the payload.
       const response = await tweetService.create(payload);
       // Return a success response with the created tweet data.
       return res.status(201).json({
         success: true,
         message: "Successfully created a new tweet",
         data: response,
         err: {},
       });
     });
   } catch (error) {
     // If there is an error, return a 500 error response.
     return res.status(500).json({
       success: false,
       message: "something went wrong",
       data: {},
       err: error,
     });
   }
 };

 // Define a function to handle getting a tweet by ID.
 export const getTweet = async (req, res) => {
   try {
     const response = await tweetService.get(req.params.id);
     return res.status(200).json({
       success: true,
       message: "Successfully fetched a tweet",
       data: response,
       err: {},
     });
   } catch (error) {
     return res.status(500).json({
       success: false,
       message: "something went wrong",
       data: {},
       err: error,
     });
   }
 };
here console.log(“Image url is”, req.file); returns: when we upload a file in tweet from postman:
 Image url is {
   fieldname: 'image',
   originalname: 'Screenshot 2023-05-01 at 10.01.58 AM.png',
   encoding: '7bit',
   mimetype: 'image/png',
   size: 1402448,
   bucket: 'twittertautik',
   key: '1683441204376',
   acl: 'public-read',
   contentType: 'application/octet-stream',
   contentDisposition: null,
   contentEncoding: null,
   storageClass: 'STANDARD',
   serverSideEncryption: null,
   metadata: { fieldName: 'image' },
   location: 'https://twittertautik.s3.ap-south-1.amazonaws.com/1683441204376',
   etag: '"629bdbcc07af29ca4fd8caaed32ff40f"',
   versionId: undefined
 }
Make new tweet in postman

File has been successfully uploaded, and you can now accses your file from image URL.
Thanks a lot for reading :)